Editor
Asset Editor
The asset editor is a dedicated application to create and edit the different types of units:
Access to the application requires the user to be given the editor role.
Overview
Because the source data is from a Version Control System the amount of challenges that can be fetched is limited. To be able to fetch all challenges, there is a pagination on the top of the page.
Click the number of the page to fetch the corresponding set of challenges, theories or quizzes.

Detail (Edit)
On top you see the universal identifier (UUID) of the unit that is currently being edited.
You can navigate through the wizard by clicking the next / previous buttons at the bottom or by selecting the tab of the step you want to edit.
Validation - A step and all its containing fields have to be in a valid state before you can continue. If for some reason you can not navigate by clicking on the tab, try to use the next button and you will see which step has invalid inputs.
Challenge Editor
The challenge editor allows the editor to create and change challenges.
Create a new challenge
To Create a new challenge click on the create new challenge button at the top right.
Cloning a challenge
Click the clone Button  to duplicate an existing challenge.
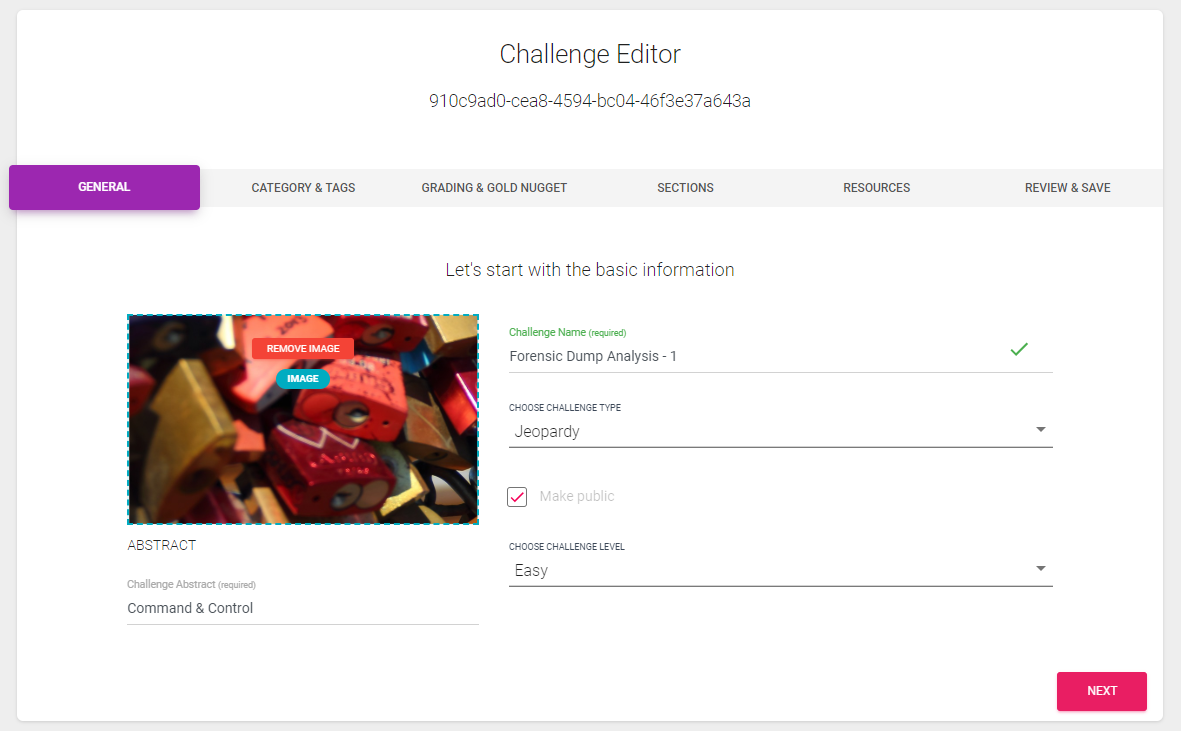
Challenge - General
- Image - The challenge image used for the thumbnail and the title. (For best results use a png or jpeg with a minimum resolution of 800 x 400 pixels). The image will get cropped and resized automatically.
- Challenge abstract - A short description of the challenge
- Challenge Name - The Name of the challenge
- Challenge Type - Specify the intended usage of the challenge. (Jeopardy, CTF or Training)
- Make public - Determine if this challenge is intended to be used for everyone on your installation
- Challenge level - Choose the difficulty of the challenge
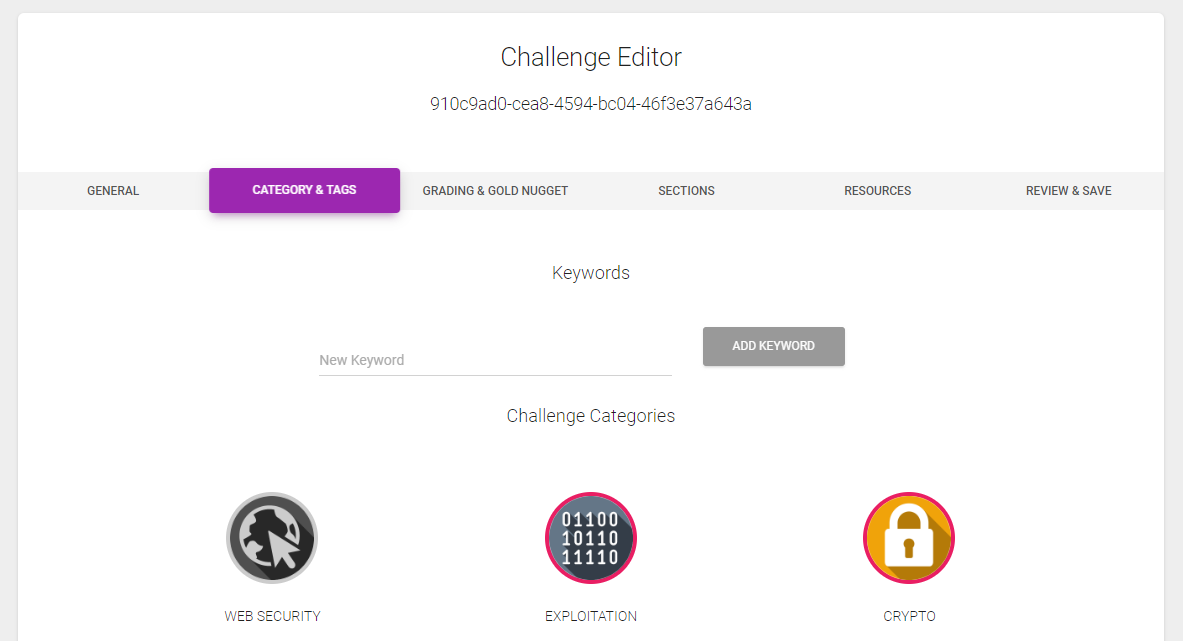
Challenge Editor - Category & Tags
- Keywords - (Tags) add keywords to the challenge for an easier identification in the future.
- Categories - add one or multiple categories by clicking on the corresponding image.
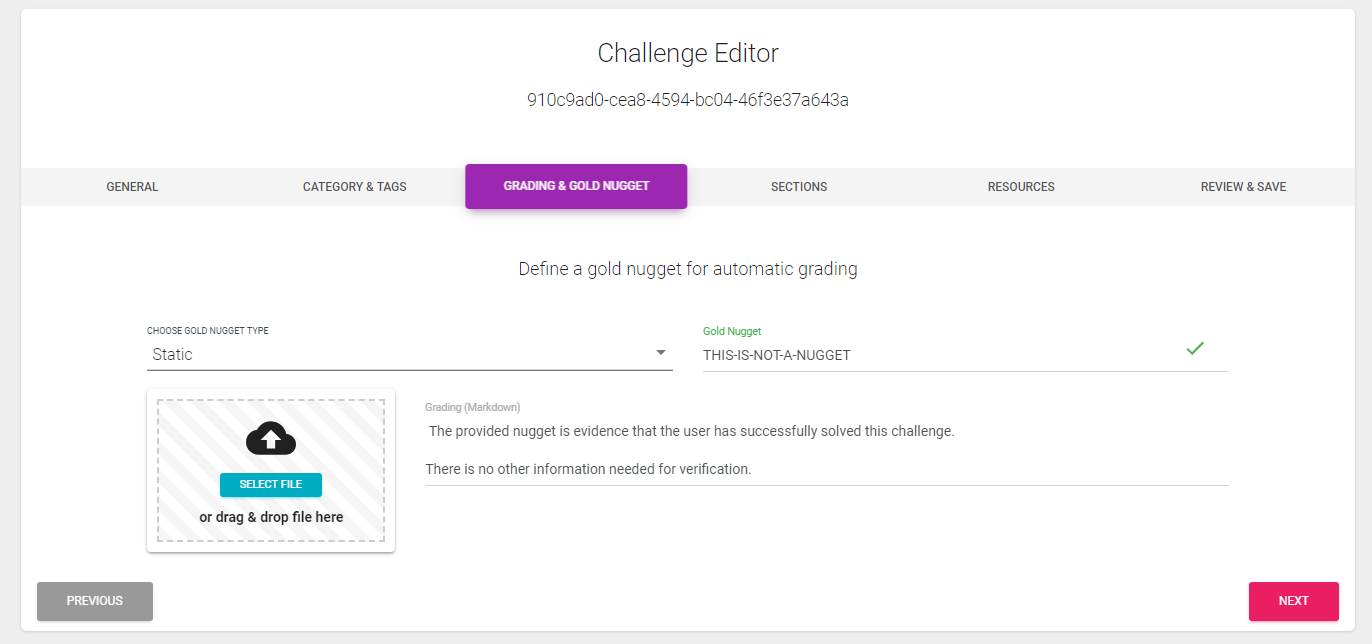
Challenge Editor - Grading & Gold Nugget
- Gold Nugget Type - choose the type of your gold nugget (None, Static or Dynamic)
- Gold Nugget - This is a secret that can be used to check if a user has solved the challenge. (It is required when you choose the static type)
- Grading - This is a "blue-print" solution. This is used to check the quality of the provided solution of the student.
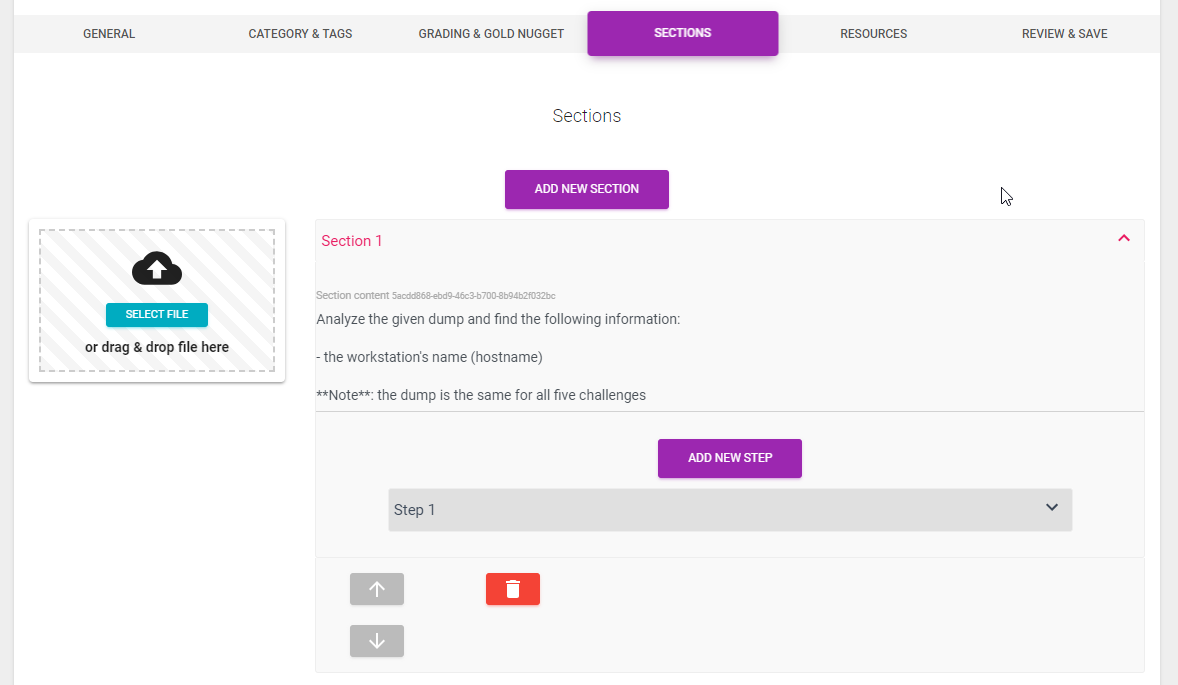
Challenge Editor - Sections
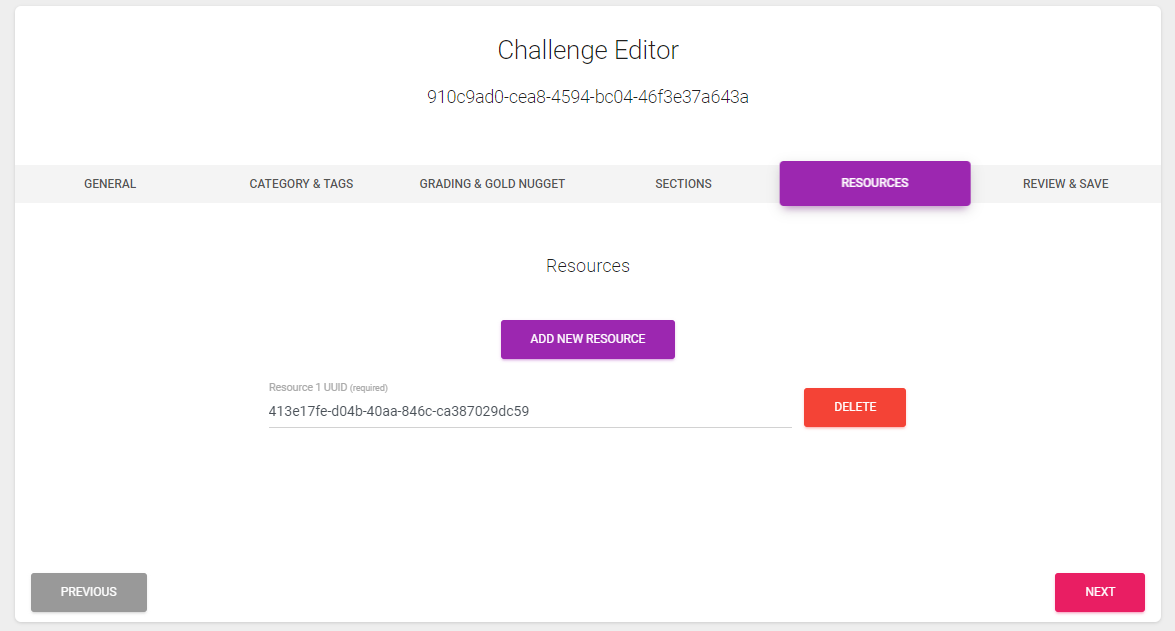
Challenge Editor - Resources
Click Add new resource and then enter the UUID of the resource you want to attach to this challenge. You can enter as many resources as you like.
See: Resource Editor
Challenge Editor - Review & Save
No input is needed. Use this screen to preview your challenge and the rendered markdown.
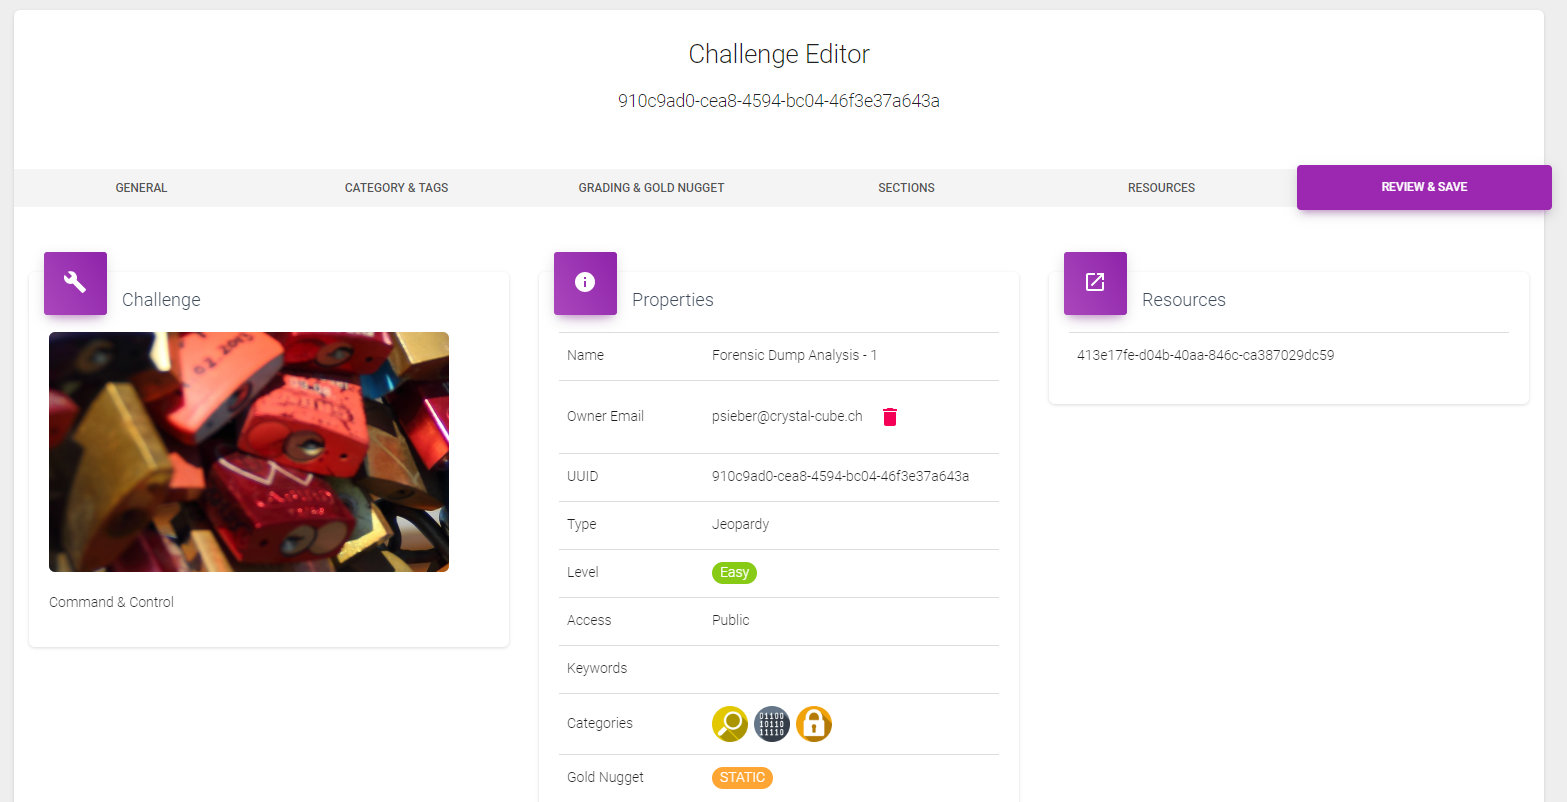
If everything looks good click save at the bottom of the screen.

Because all your changes are held offline until you save it can take some time until the saving process is done. While the challenge is getting processed you see a loading spinner.
When everything worked well you see a confirmation at the top of the screen.
After saving you will be redirected back to the challenge overview.
Theory Editor
The theory editor allows the editor to create and change theories. It consists of a wizard with four steps.
Video tutorial
Create a new theory
To Create a new theory click on the create new theory button at the top right.
Cloning a theory
Click the clone Button  to duplicate an existing theory.
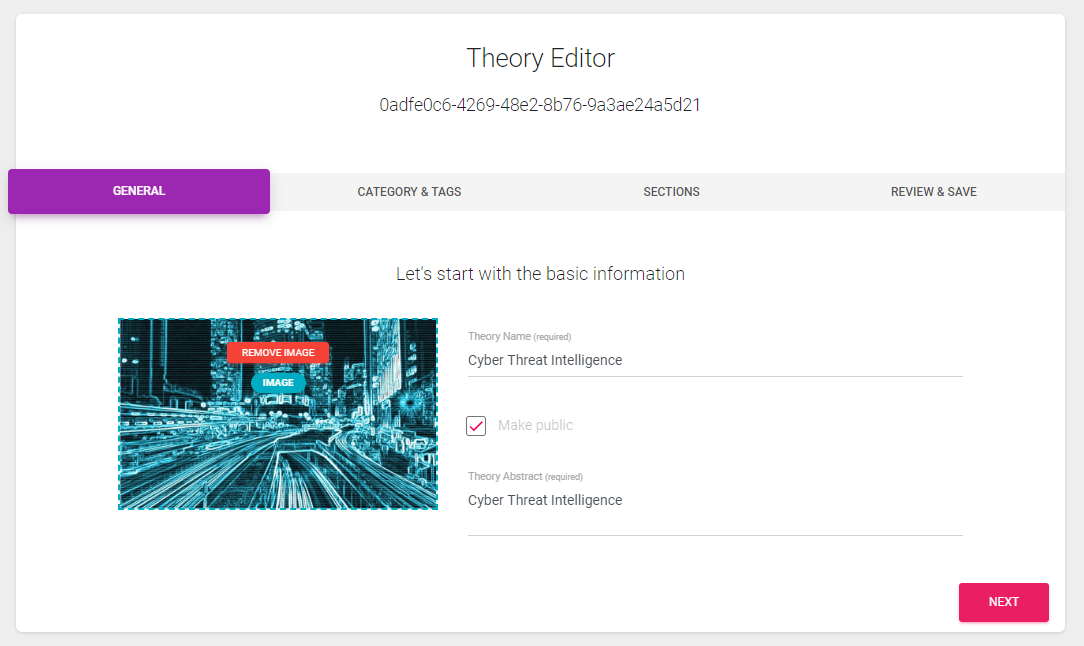
Theory Editor - General
- Image - The theory image used for the thumbnail and the title. (For best results use a png or jpeg with a minimum resolution of 800 x 400 pixels). The image will get cropped and resized automatically.
- Theory Name - The Name of the theory
- Make public - Determine if this theory is intended to be used for everyone on your installation
- Theory abstract - A short description of the theory.
Theory Editor - Category & Tags
- Keywords - (Tags) add keywords to the theory for an easier identification in the future.
- Categories - add one or multiple categories by clicking on the corresponding image.

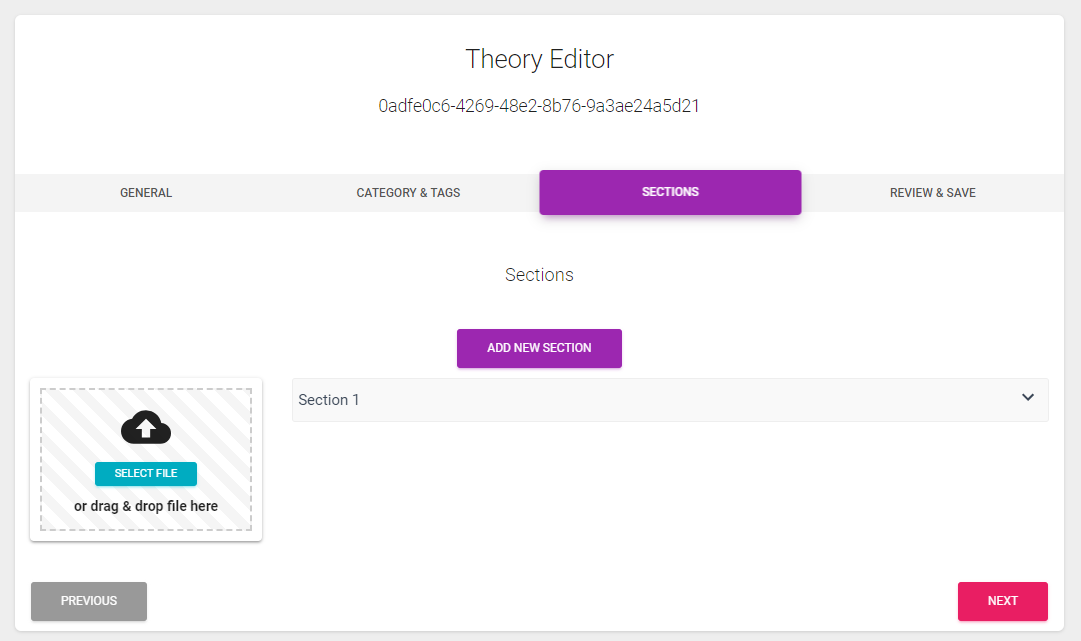
Theory Editor - Sections
A theory section has no steps.
Theory Editor - Review & Save
No input is needed. Use this screen to preview your theory and markdown.
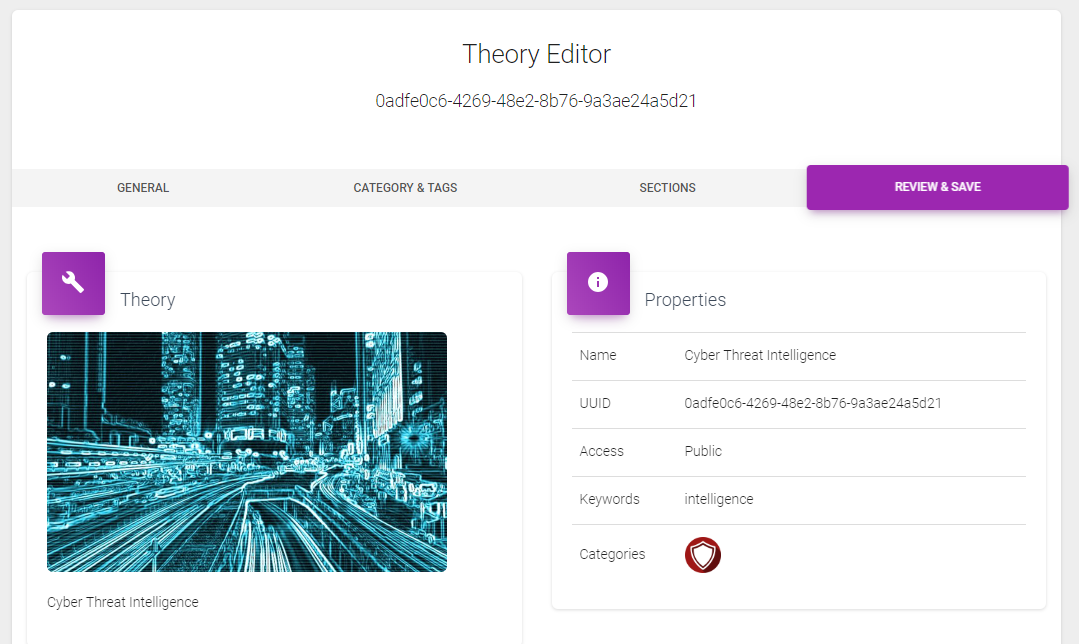
When everything looks good click save at the bottom of the screen.

Because all your changes are held offline until you save it can take some time until the saving process is done. While the theory is getting processed you see a loading spinner.
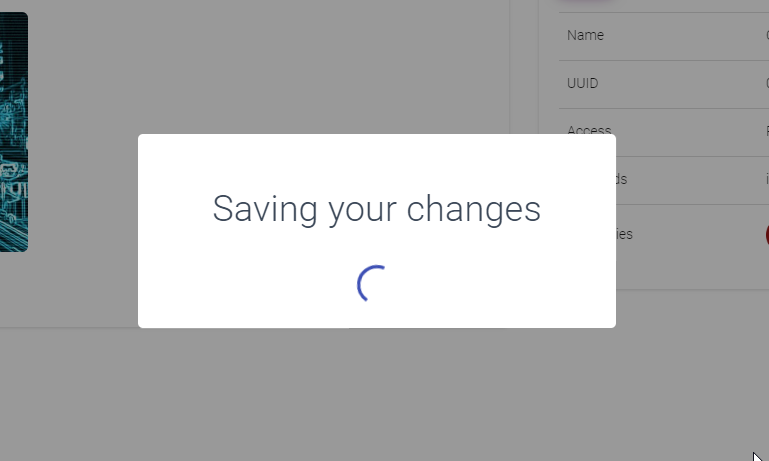
When everything worked well you see a confirmation at the top of the screen.

After saving you will be redirected back to the theory overview.
Quiz Editor
The quiz editor allows the editor to create and change quizzes.
The quiz editor allows the editor to create and change theories. It consists of a wizard with four steps.
Video tutorial
Create a new quiz
To Create a new quiz click on the create new quiz button at the top right.
Cloning a quiz
Click the clone Button  to duplicate an existing quiz.
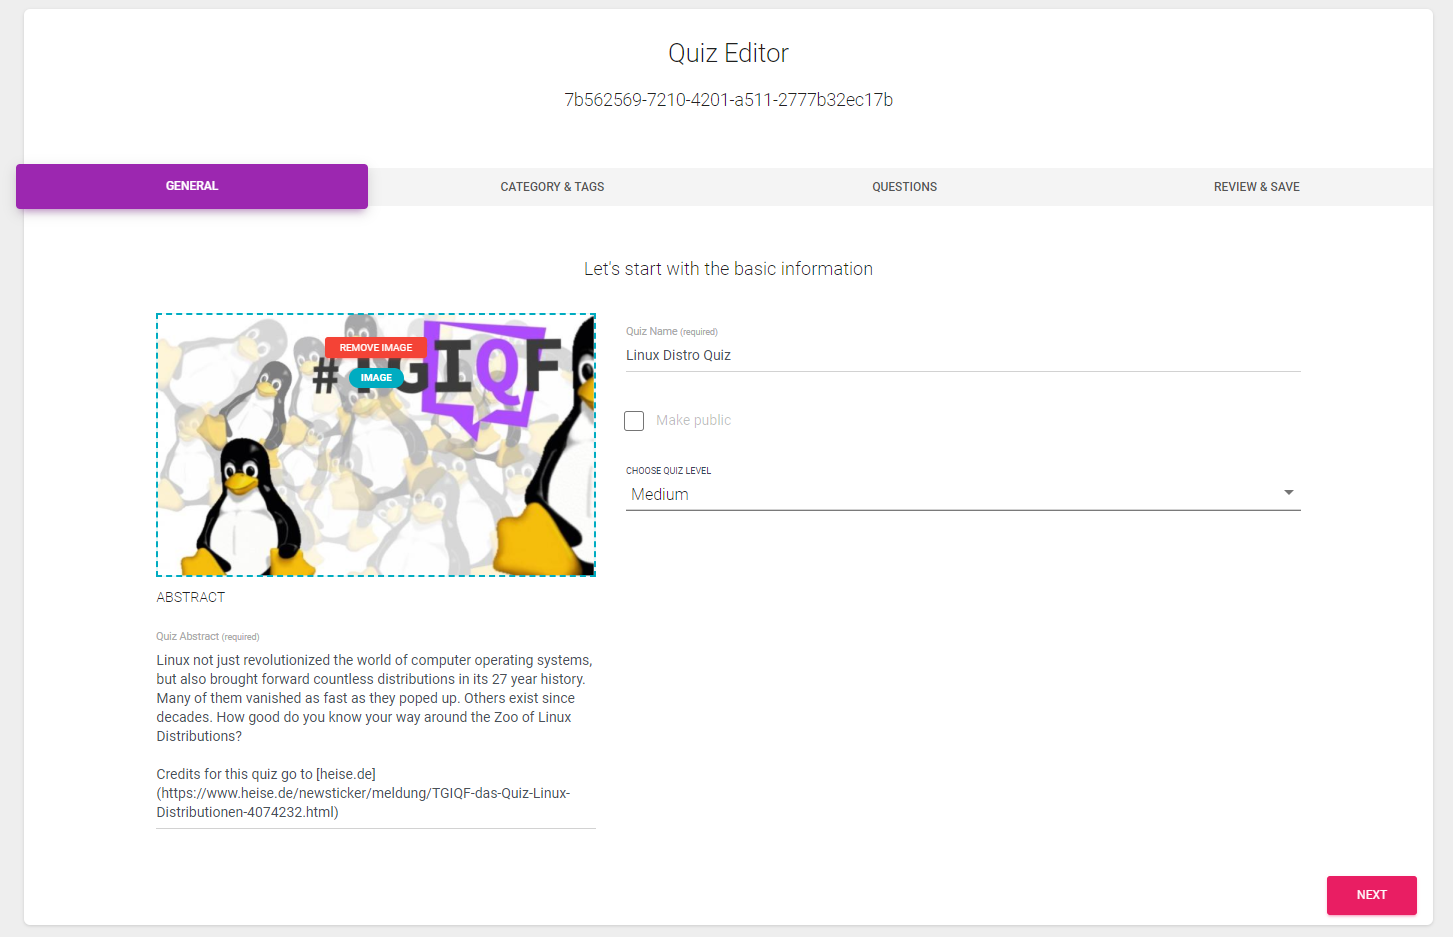
Quiz Editor - General
- Image - The quiz image used for the thumbnail and the title. (For best results use a png or jpeg with a minimum resolution of 800 x 400 pixels). The image will get cropped and resized automatically.
- Quiz Name - The Name of the quiz
- Quiz public - Determine if this quiz is intended to be used for everyone on your installation
- Quiz abstract - A short description of the quiz.
Quiz Editor - Category & Tags
- Keywords - (Tags) add keywords to the quiz for an easier identification in the future.
- Categories - add one or multiple categories by clicking on the coresponding image.
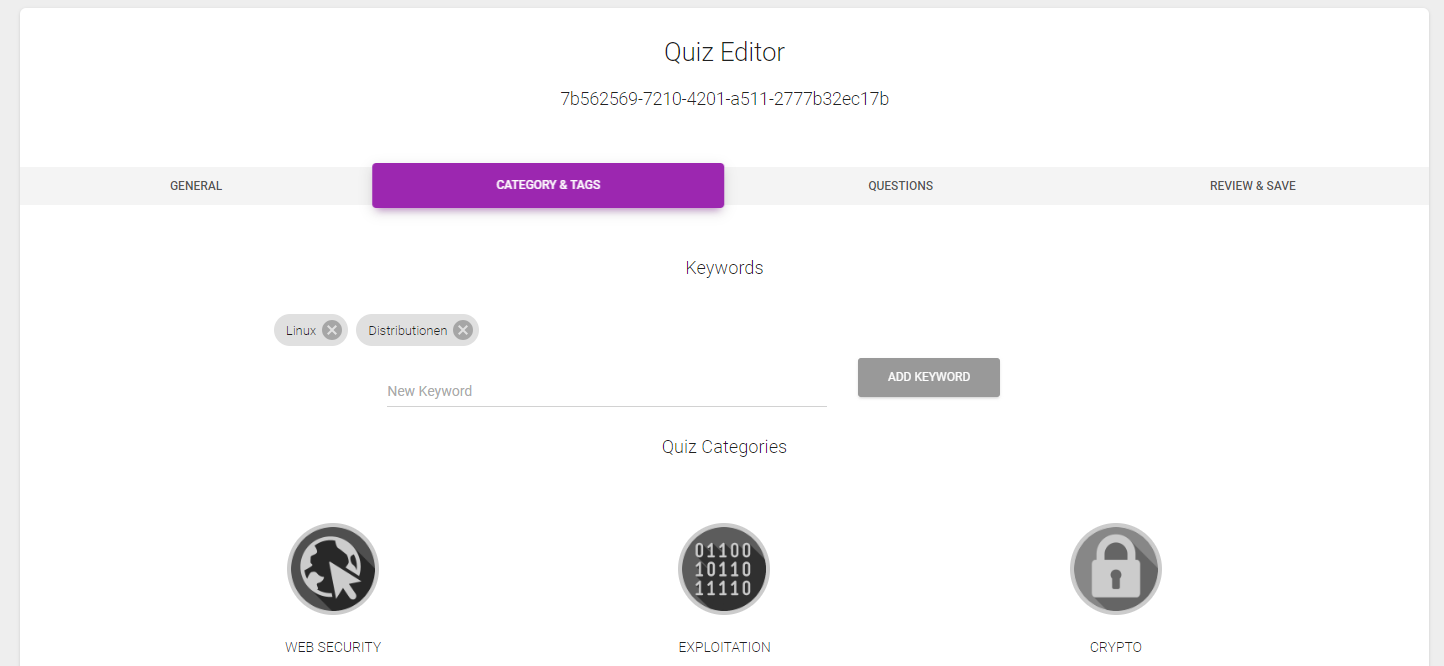
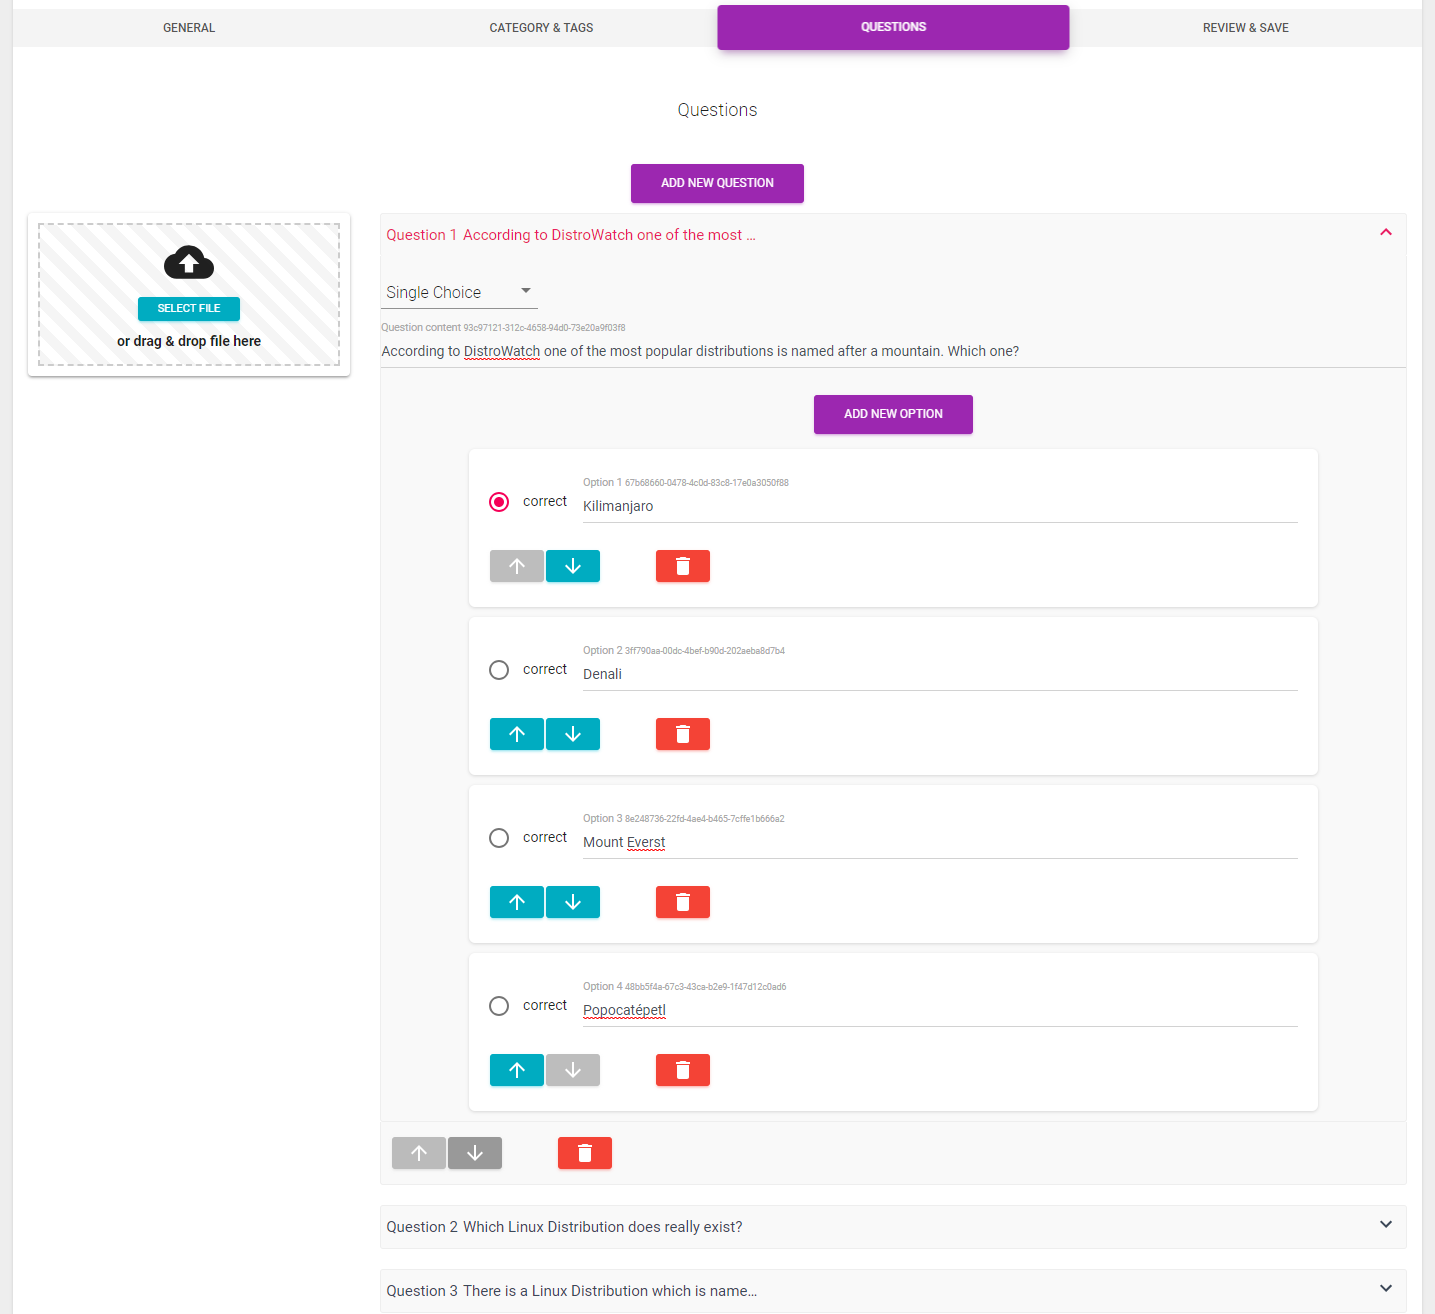
Quiz Editor - Questions
A quiz section has no steps.
Quiz Editor - Review & Save
No input is needed. Use this screen to preview your quiz and markdown.
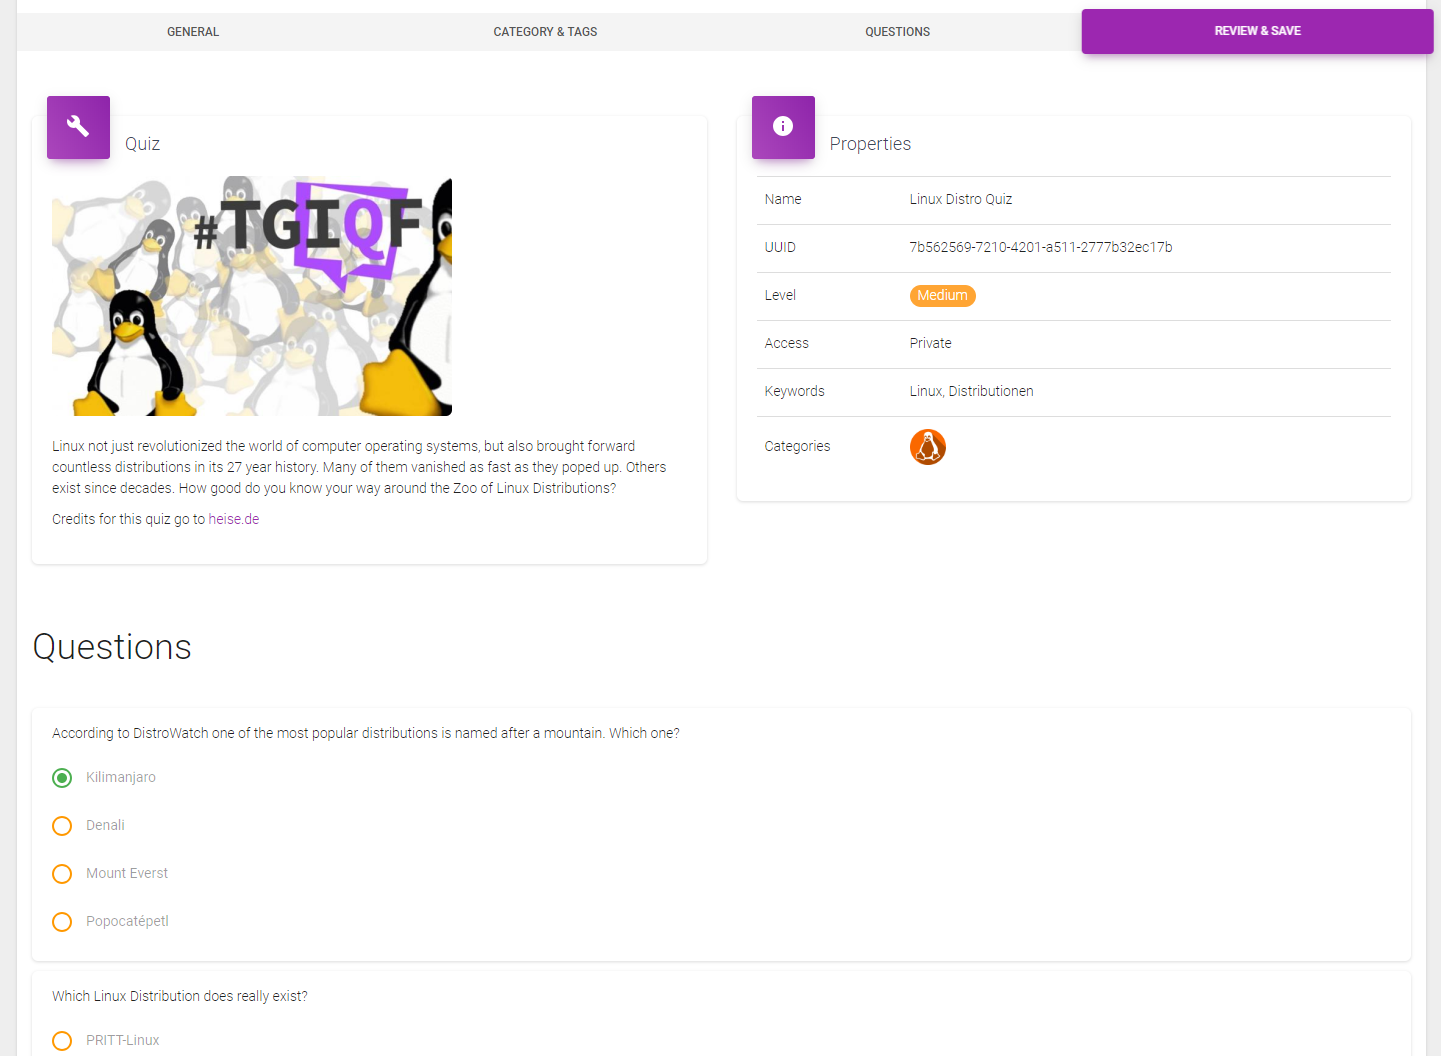
When everything looks good click save at the bottom of the screen.

Because all your changes are held offline until you save it can take some time until the saving process is done. While the quiz is getting processed you see a loading spinner.
When everything worked well you see a confirmation at the top of the screen.
After saving you will be redirected back to the quiz overview.
Working with sections
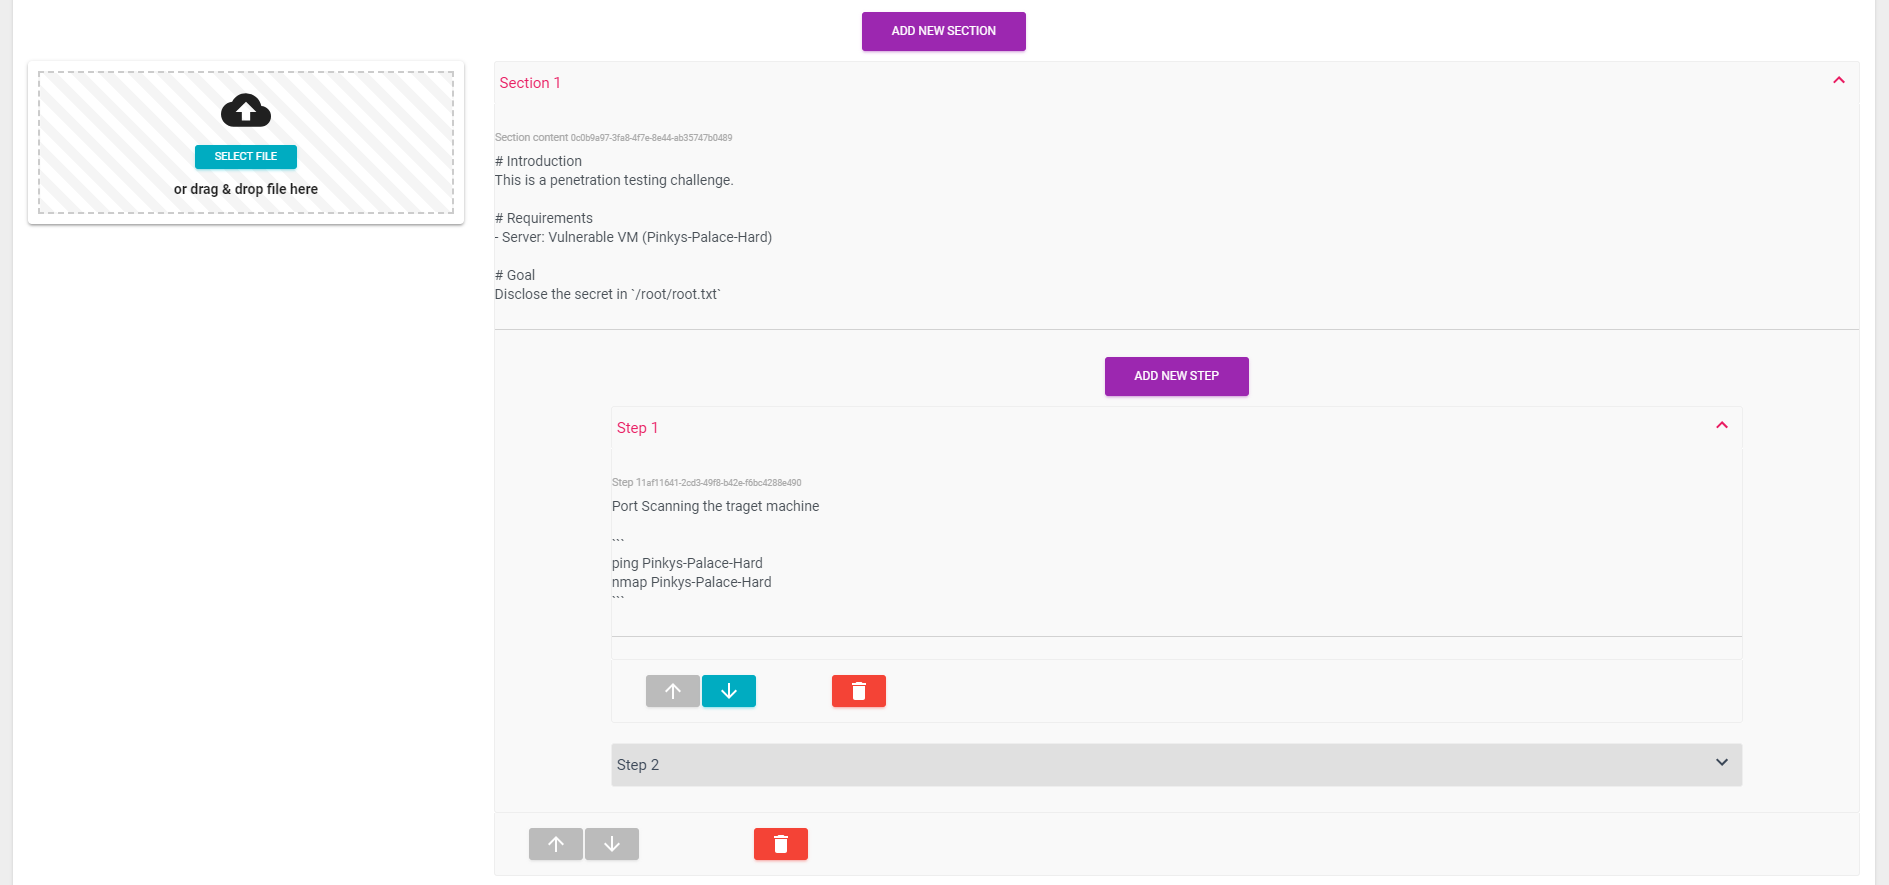
Click on add new section to create a new section.
A Section content can be any valid Markdown. You can upload media files to link or integrate within the section content.
Step by Step instructions
Within a section (expand by clicking the section name) click on add new step to add a step to the section.
Each step contains an instruction for solving the challenge. Steps are only used in training mode.
Adding media files
Both sections and steps are markdown enabled text fields and can contain references to media files such as pdf documents or images. Images can also be rendered inline.
Upload the files you want to include in the markdown.
Important These files are not part of the challenge but are necessary or helpful for the person who is solving the challenge. (eg. a screenshot or a piece of code)
Resource Editor
The resource editor is a dedicated application to create and edit different types of resources:
It allowes the editor to create and change resources, that can be used in challenges.
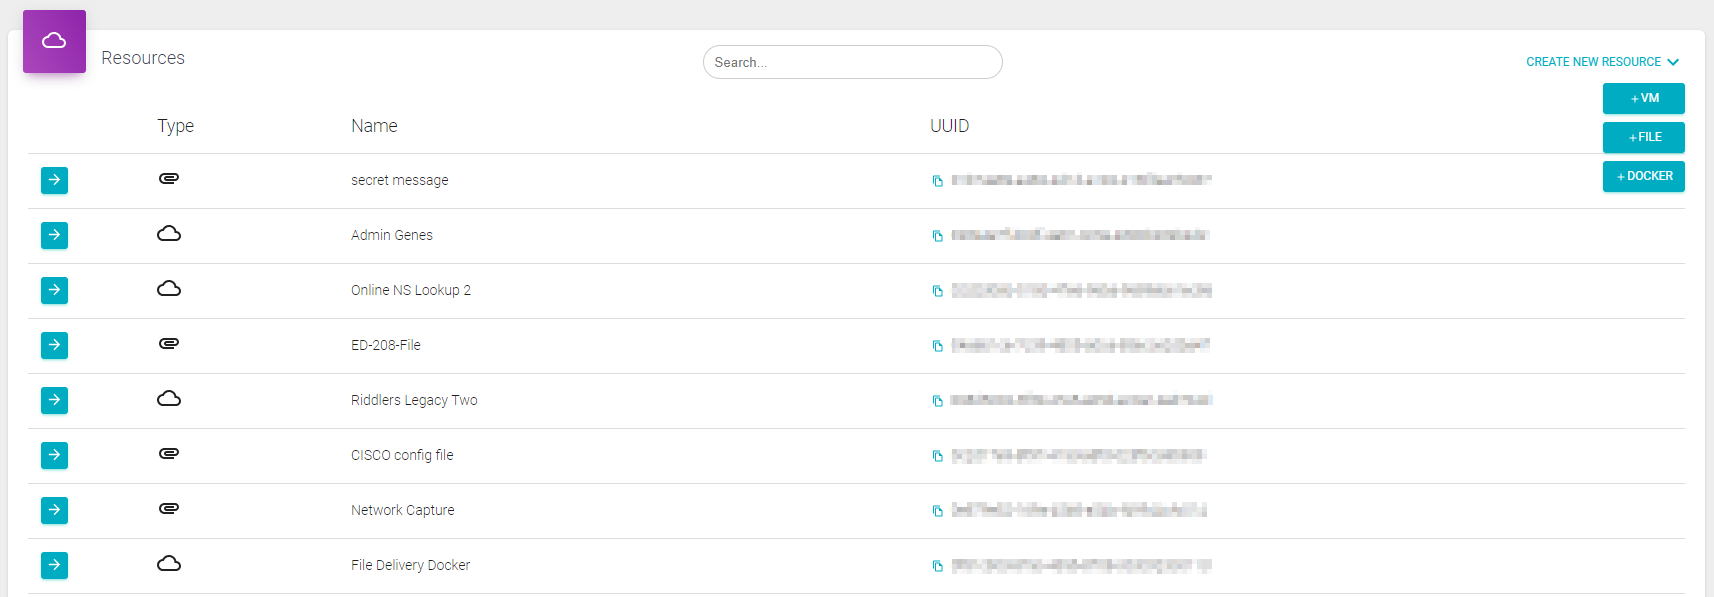
On the overview page you see a list of all available resources. You can change the ordering by clicking on the column title.
In this example the resources are shown by name in descending order (indicated by the downwards arrow)

The list shows the type of the resource, as well as the name and the UUID. You can copy the UUID to your clipboard to use it in the Challenge Editor.
To edit a resource click on the blue arrow at the left hand side. 
Create a new resource
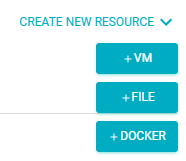
To create a new resource click Create new resource at the top right and select the type of resource you want to create.
Edit a resource
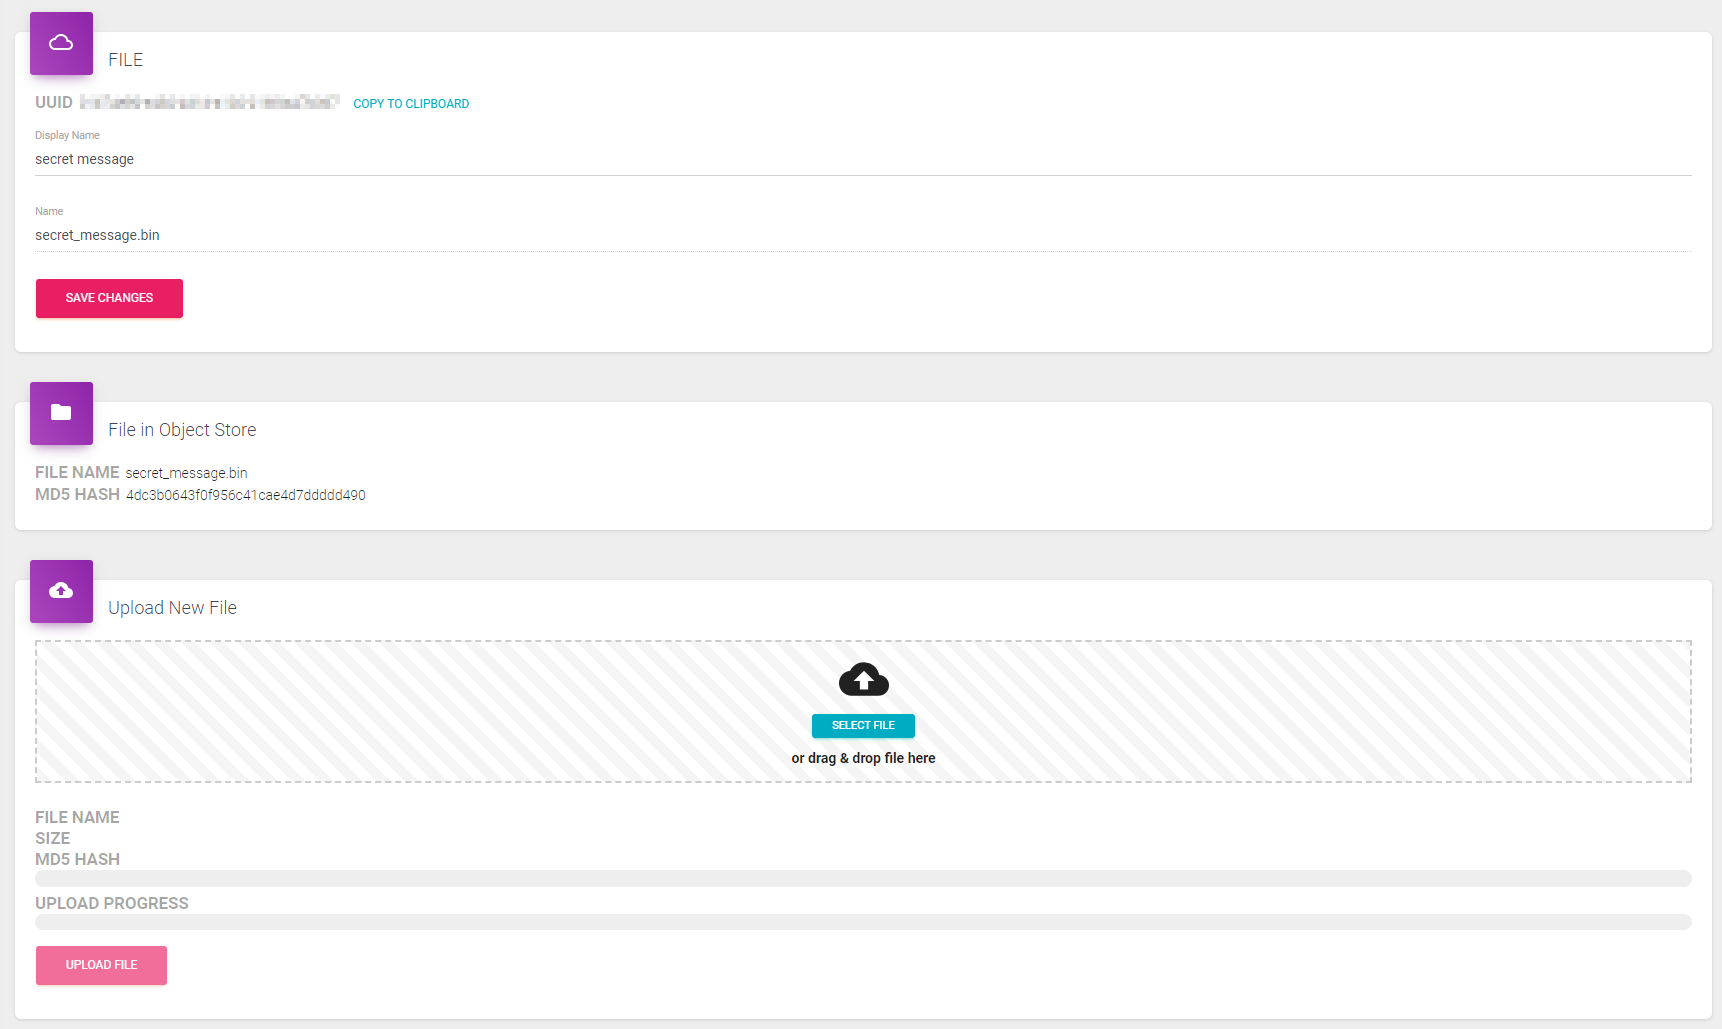
- Display name - The name that is commonly used to recognize this resource.
- name - The actual filename under which the resource will get downloaded.
VM Resource
A VM is an entire Virtual Machine that can be started to be part of an attack.
- File in object store - Here you can see information about the VM (ova file) that resides on the object store.
- Upload new file - Choose a new file to be used or to replace the current resource. You will see the calculated MD5-Hash and the progress of the upload.
File Resource
A file resource can be used if you want to provide a simple file to be investigated or worked with.
- File in object store - Here you can see information about the file that resides on the object store.
- Upload new file - Choose a new file to be used or to replace the current resource. You will see the calculated MD5-Hash and the progress of the upload.
Docker Resource
A docker resource is similar to a virtual machine but can be a lightweight container and is in general more versatile.
- Hierarchy - A value between 1 and 3. Only required if hierarchical docker images are used, to control the build order.
- Upload new file - Chose a zip archive that contains all the necessary docker files to be built as a docker image.
- Docker compose file - Define the compose file that defines how the docker container will be started.
- Docker manager configuration - Define additional configuration to further customize how the container will be started and also be integrated in the network environment.
- User properties - Key/value pairs to show information about the resource, to the user. E.g. a username or password he will need.
