Register and Login
Login to the system can happen in two ways:
- by username and password
- by client certificates
The second option is only supported on systems which support client certificates / smart cards.
Attention
Some tenants still show the local per-tenant-login screen. Users should switch to the global single sign-on screen before loging in. The button to switch to the single sign-on screen looks like the following one:

Users with an existing account on one or multiple tenants should migrate to single sign-on as well. A step-by-step video guide is provided in the Migration to SSO section below.
Tenants
Events in Hacking-Lab are hosted on different sites. These sites are called tenants. Tenants can be accessed by a specific (sub-) domain.
Hint
If you are unsure about the tenant your training will take place on, please contact your trainer.
Examples:
| Tenant | Subdomain |
|---|---|
| Academy | academy.hacking-lab.com |
| Competition | competition.hacking-lab.com |
| Compass Security | compass.hacking-lab.com |
Single Sign-On (SSO)
A global SSO identity provider enables a user to work on multiple tenants with a single account. Thus, a user can log in to all tenants with the same username and password.
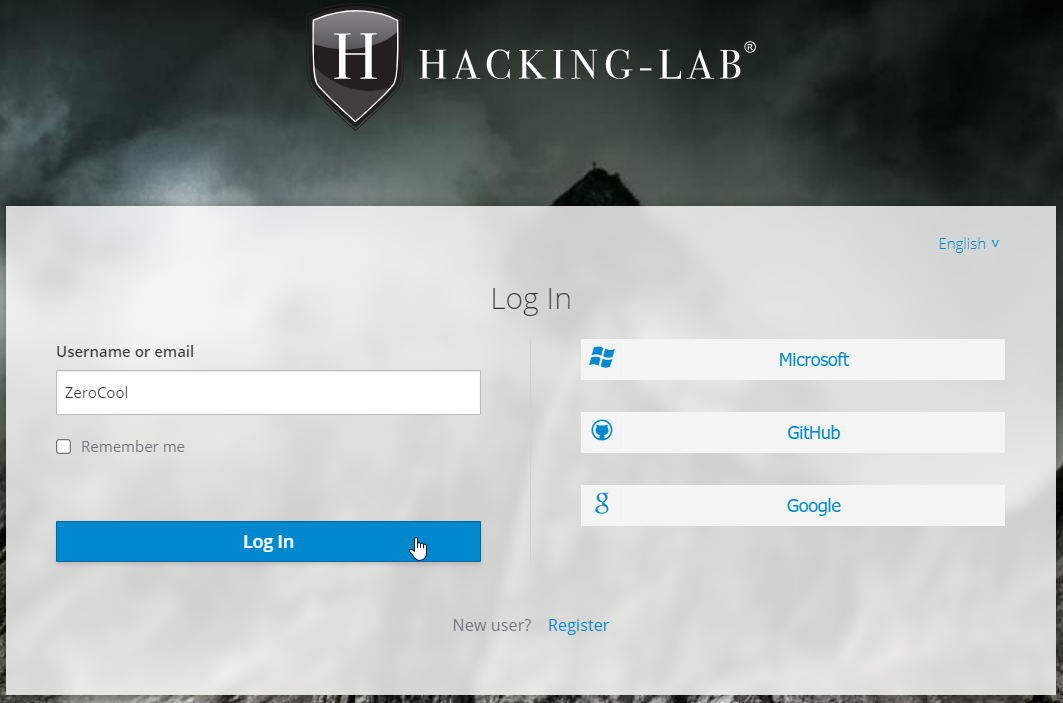
When accessing the system unauthenticated, the user gets a login page for entering username or email address. In case client certificates are supported, the browser prompts for certificate selection.
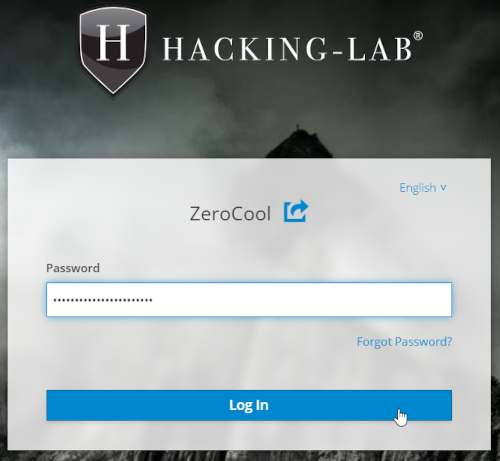
On the second screen the corresponding password musst be provided.
Third-Party Identity Providers
Identity providers from other platforms like Microsoft, GitHub or Google can be used to login to Hacking-Lab as well. A user can choose the prefered provider and will be forwarded to the external login page.
If a user decides to choose one of the currently supported third-party identity providers, no separate registration on Hacking-Lab (as described in Register a new account)) is needed.
Register New Account
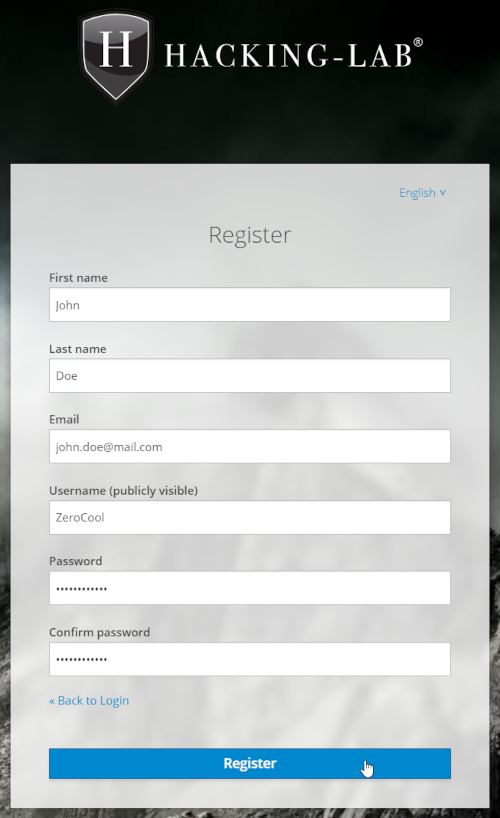
On the bottom of the Log In screen a user can register a new global account. This account can be used on multiple tenants.

Third-partry identity providers
To use an existing account from a third-party identity provider like Microsoft, GitHub or Google, the local account registration is not needed.
Important
The option to register a new account is only available on the global single sign-on (SSO) login page. Users must switch, if the tenant specific login page is displayed.

To register a new account, the user must provide information such as username and email address and set a secure password (minimum length 12 charachters).
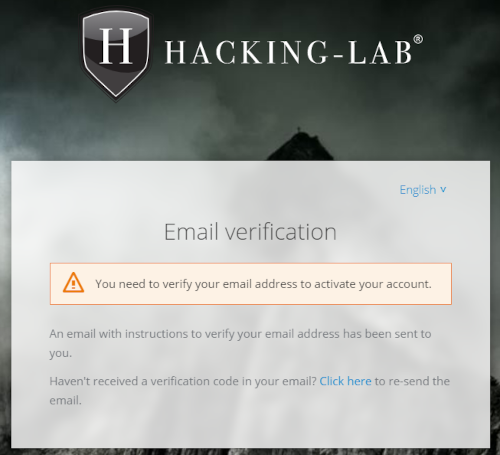
To activate the newly registered account the user has to verify the ownership of the email address. A verification link is sent by email. An option to re-send the verification mail is provided. Users should check the spam folder of their mailbox as well.
Wrong Password
In case a wrong username or password was provided, a uniform error message appears.


Forgot Password?
To reset a user password the Forgot Password? functionality is provided. An email with detailed instructions will be sent to the users email address.
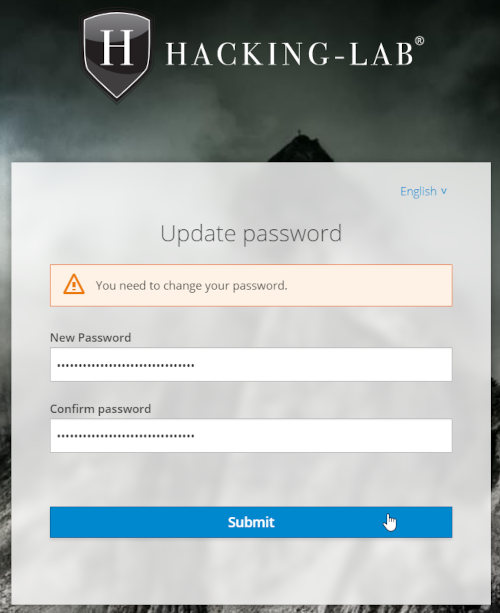
In case a password was reset, or created from scratch, the user must change it before completing the login (minimum password length is 12 characters).
Password Change
The user may initiate a password change himself, using the menu option Account.
Logout
A user can log out from the application on every screen. There are two links for this purpose. One in the menu, the other on top-right of each screen.
Migration to Single Sign-On (SSO)
In previous versions of Hacking-Lab, a separate account for each tenant was neccessary. With the SSO identity provider, these separate accounts can be unified into one single account. Thus, this single account can be used to login on all tenants.
Info
On some tenants the per-tenant-login screen is intially displayed. Users must switch to the SSO login screen to use the SSO identity provider. The button to switch to the single sign-on screen looks like the following one:

To migrate a user account from per-tenant-login to the global SSO identity provider, a detailed step-by-step instructions are provided in the attached video tutorial.
