Student
Event Overview
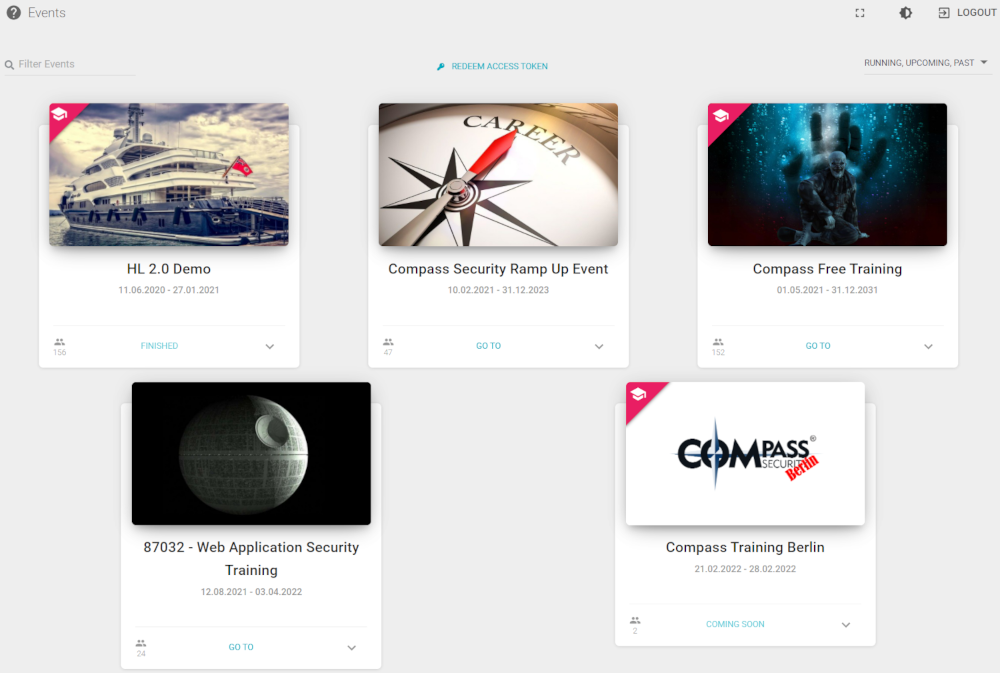
The event overview screen shows a list of all events visible for the student. Which events are visible depends on the team membership of the student.
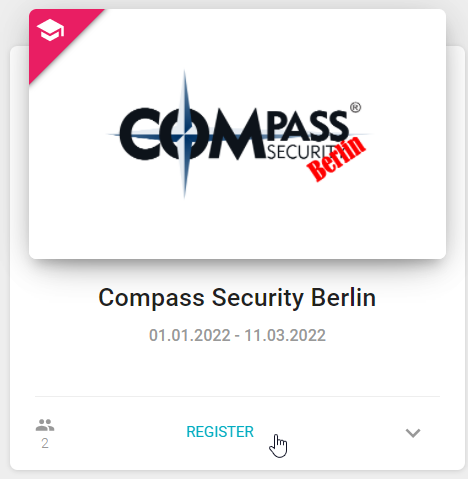
The student can register for all running and upcoming public events, by clicking the REGISTER link. Once registered, the link will change to GO TO. To join a private event, students need an access token.
Hint
Find more details on joining events in the how to section below.
An event can be a basic event, a curriculum or a time limited exam.
Event Filter
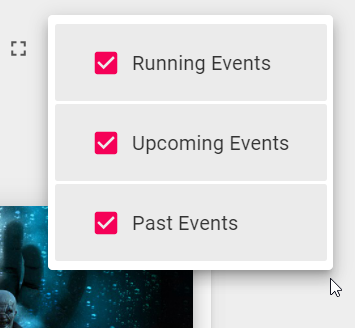
In the top right menu, users can filter which events are displayed.
The events are divided into three different groups:
Past events are labeld with FINISHED, Upcoming events with COMING SOON.
Event View
The view varies depending on the [type] of the event. – curriculum, basic and exam.
Curriculum View
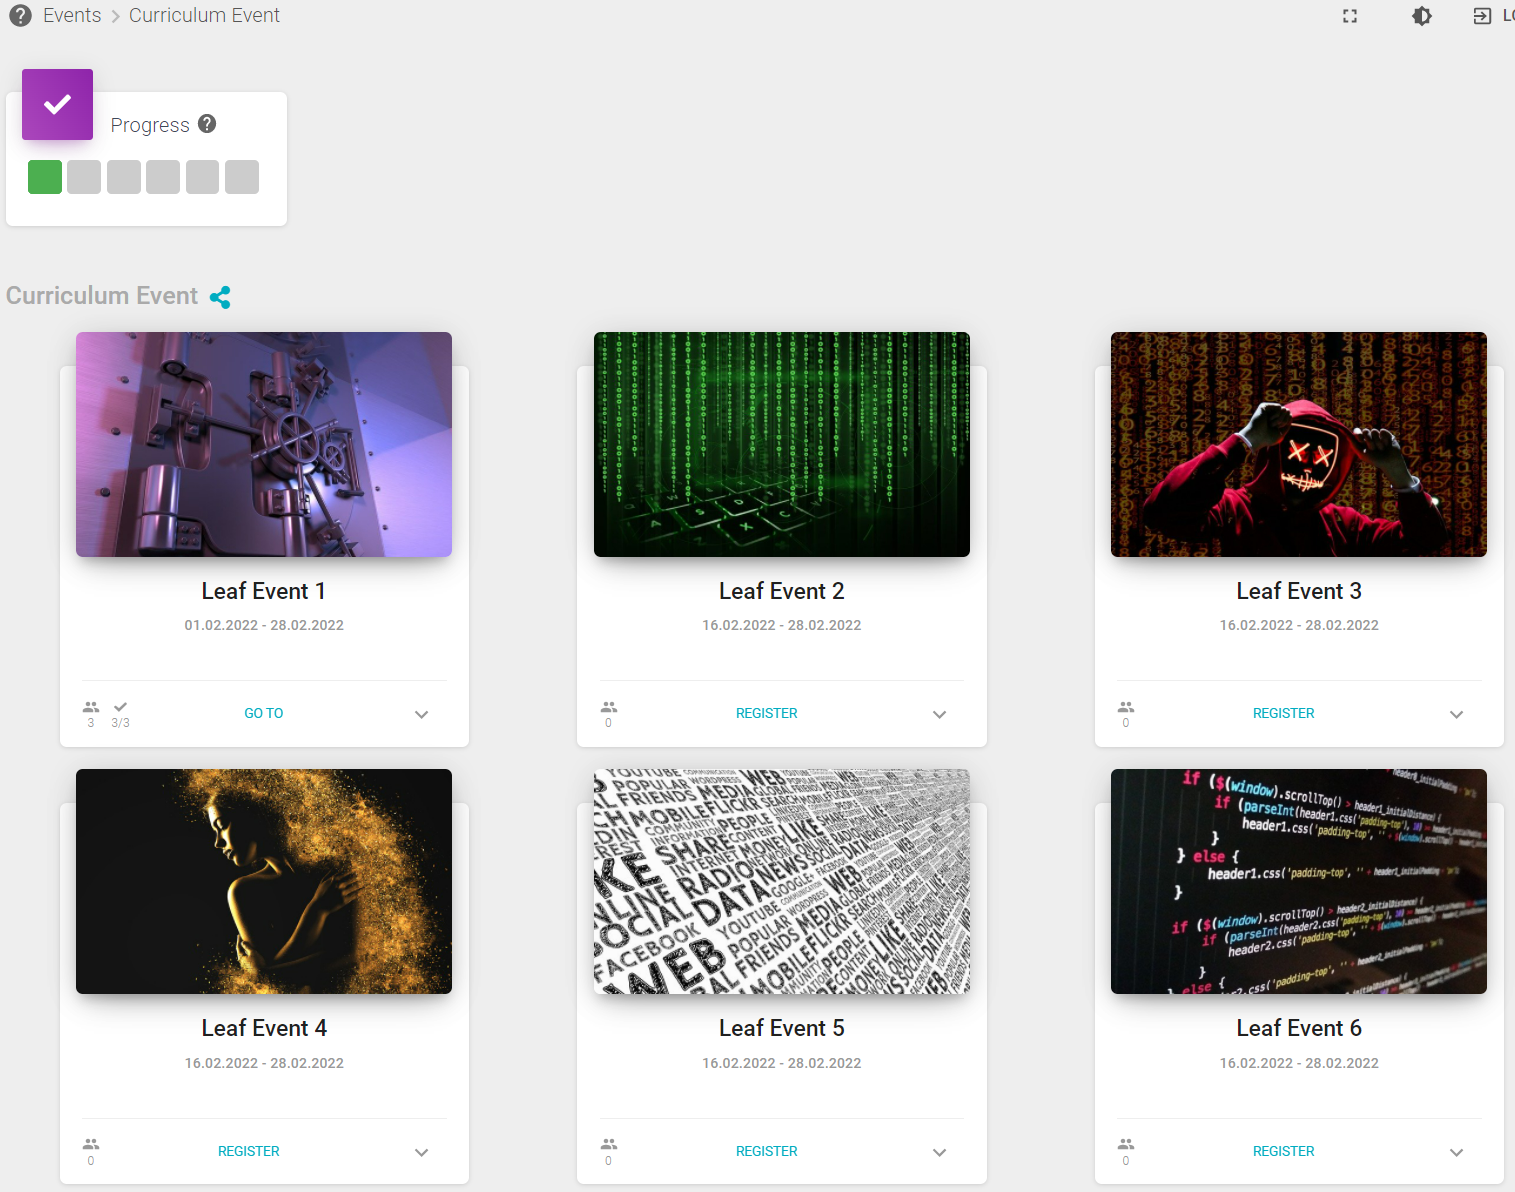
Opening a (running) curriculum event, one or multiple events of different types will show.
Basic Event View
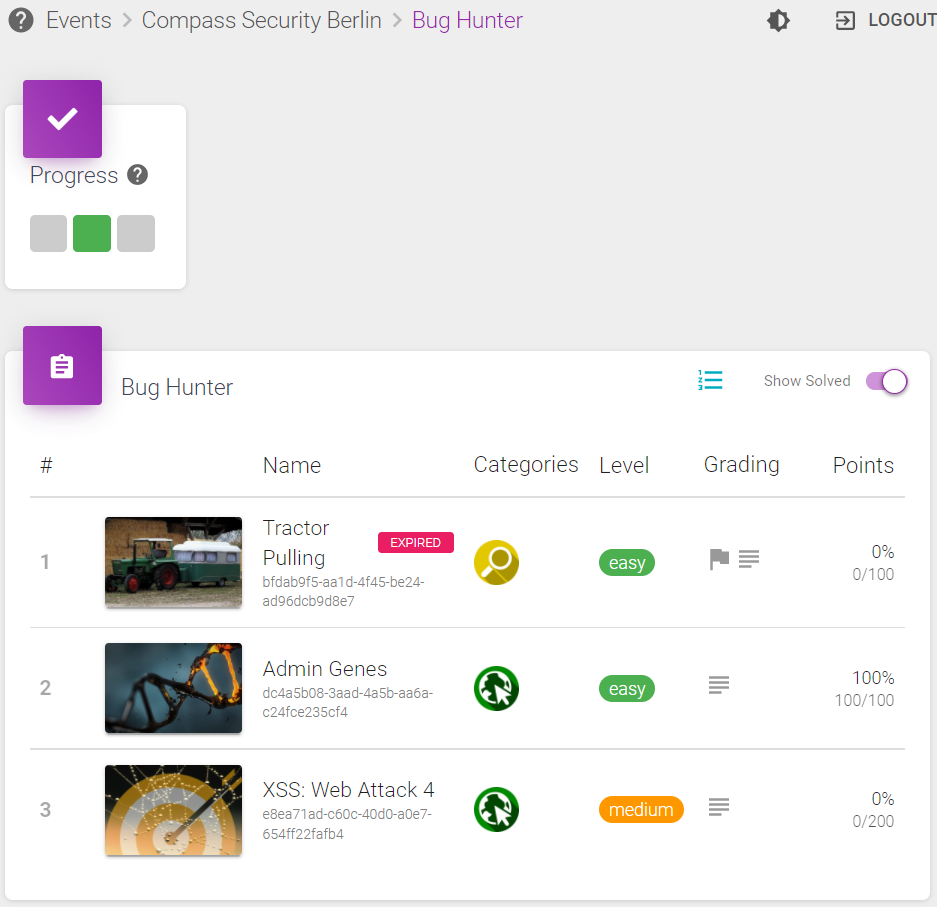
Opening a (running) basic event, the list of the event units will show. For each unit, the following information is being displayed:
- Type icon
- Image and Name
- Categories
- Level (challenges and quizzes only)
- Mode (challenges and quizzes only)
- Grading (challenges only)
- Points received
- Expired
 indicates that the end date of a challenge has passed. No more solutions can be submitted for this challenge.
 - The
 button at the top right shows the ranking for this event.
Exam View
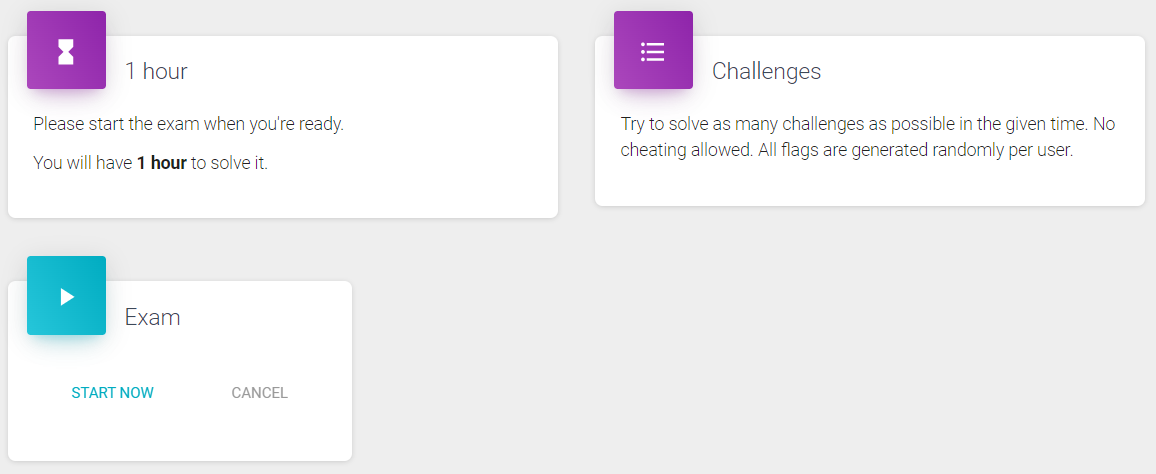
Before a student starts an exam, three sections are displayed:
- the Time card (1 hour) shows how much time a user has to solve all tasks
- the Challenges card provides instructions to solve the challenge
- to start the Exam use START NOW
After starting an exam, all tasks to be solved are listed, similar to the basic event view. In addition, a timer shows the time remaining to solve the tasks. FINISH EXAM can be used to finish the test manually.
Info
It is NOT possible to submit or change solutions after finishing the exam manually! The user can still view the units and the submitted solutions in the solution history.
Challenge View
The challenge view shows all the details of a challenge unit.
In the upper section, there are three cards to show the properties of the challenge:
- image and abstract
- properties and details
- resources like files or virtual machines, neccessary to solve the challenge
The lower section contains three parts:
- the challenge description for the task to solve
- the solution history
- a form to submit solutions
Challenge Properties
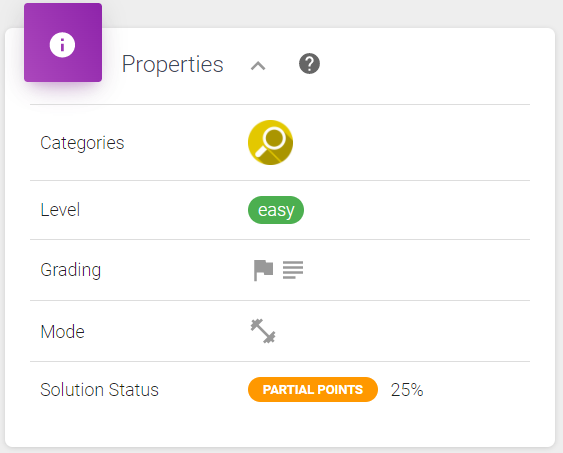
The property card shows category, level, grading, mode, and solution status of the challenge.
Challenge Resources
Some challenges require additional resources in order to be solved. A challenge can provide multiple resources, which may also be of different type.
| Resource | Description |
|---|---|
 |
Any kind of file to download. |
 |
Easily restartable docker image, one per user. |
 |
Virtual machine shared by multiple users. |
Video Tutorial
Watch the video tutorial to learn more about challenge resources.
Challenge Description
The challenge description contains the challenge setup, story and task description.
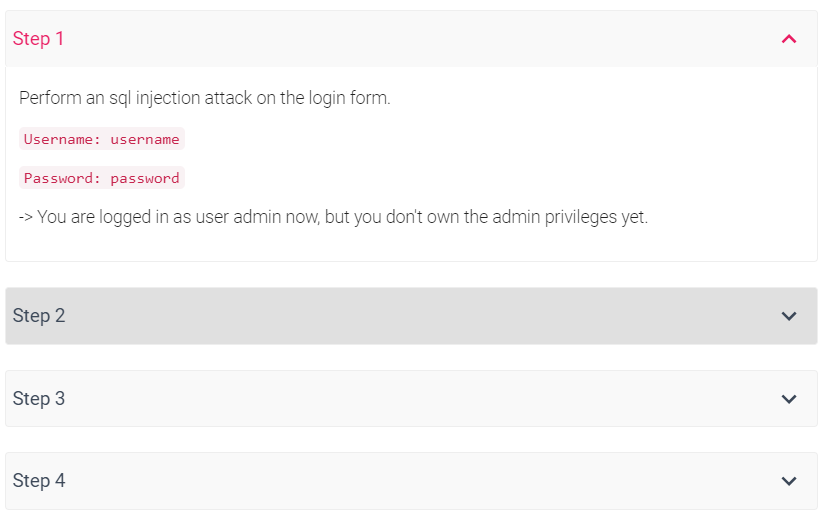
In case the challenge is opened in training mode, a step-by-step solution is provided. The student will then see one or more steps, which he can toggle individually.
Solution History
Previous submissions, and replies by the teacher, will also be visible here, with a timeline showing all submissions and gradings for this challenge in a chat kind of way.
Info
The button ![]() on top of the history view can be used to directly answer or submit a solution.
on top of the history view can be used to directly answer or submit a solution.
Solution Submission
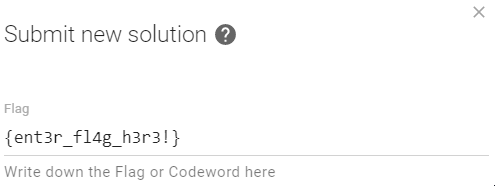
In the Solution Submission part, the student can submit his solutions.
Depending on how the grading was configured for the unit, the student will be required to submit a written report, a flag only, or both.
Flag submissions are graded immediately by the system:
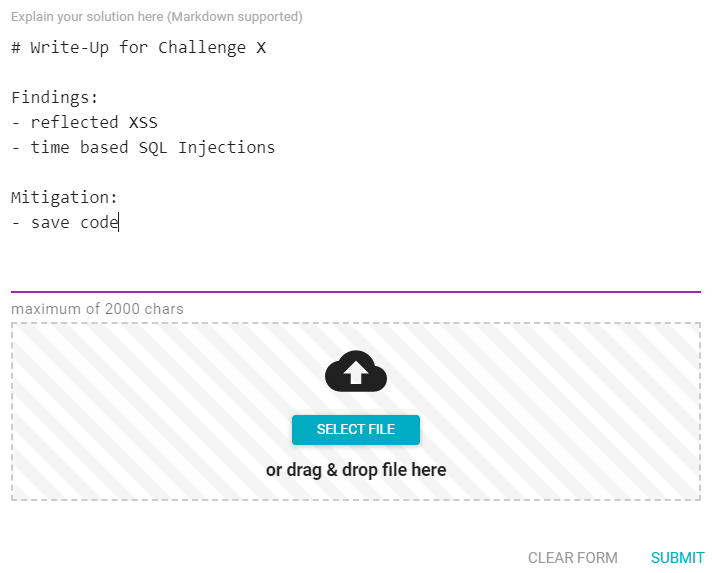
WriteUps have to be checked and graded by a teacher. Markdown syntax can be used to submit a solution using the textfield (maximum 2000 chars). Alternativly a file (e.g., PDF file) containing the solution or detailed information can be uploaded.
Theory View
The theory view shows all the details of a theory unit.
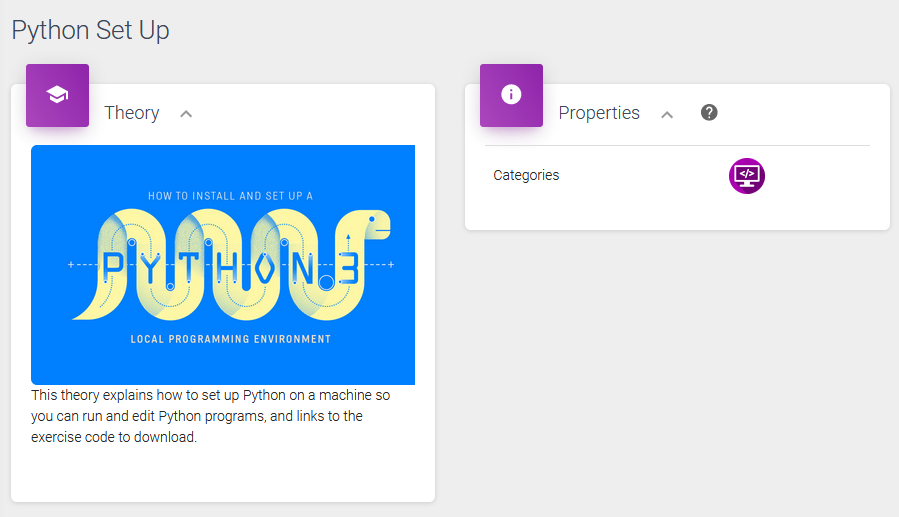
In the upper section, there are two cards to show the properties of the theory:
- image and abstract
- properties
The lower section contains the theory description.
Theory Properties
The property card shows the category of the theory.
For the individual properties, and their possible values, check out here.
Theory description
The theory description contains the actual content of the theory.
The content can contain in-line media (e.g. images and videos), and links to files for downloading (e.g. a PDF).
Quiz View
The quiz view shows all the details of a quiz unit.
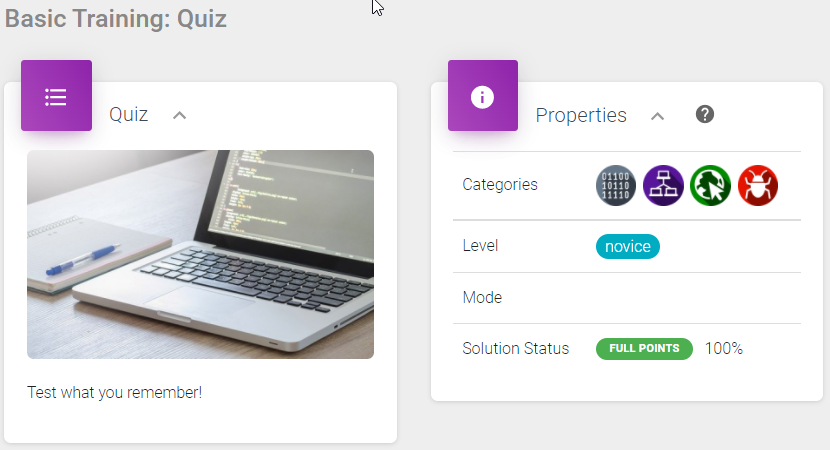
In the upper section, there are two cards to show the properties of the quiz:
- image and abstract
- properties
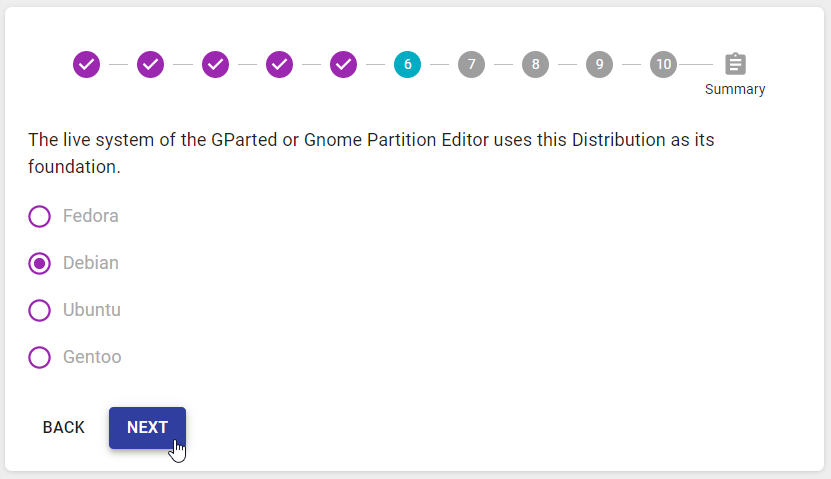
The lower section contains the questions of the quiz. The progress bar above the questions, shows the current status of the solution. Answered questions are marked which a check.
Quiz Properties
The property card shows category, level, mode, and solution status of the quiz.
Quiz Solution
Quizzes contain a number of questions, of the following types:
-
single-choice: exactly one out of the given options is correct
-
multiple-choice: one or more out of the given options are correct
-
short-answer: the answer is a short expression, e.g. a single word
Personal Report
The personal report shows an overview of what the student has achieved already. The upper part shows some statistical numbers. The lower part holds a list of units and their solution status. The list shows all events by default. Using the filter it can be changed to show the units of a single event.
Dashboard
The dashboard shows the rankings of the events the student is registered for. There are two lists:
- team ranking
- student ranking
In both lists, the student can switch the event.
How To
Info
Events are hosted on different sites. These sites are called tenants. Tenants can be accessed by a specific domain, e.g., academy.hacking-lab.com for the academy tenante or compass.hacking-lab.com to access the compass tenant.
If you are unsure about the tenant the event or your training will take place on, please contact the event manager or your trainer.
Join a public event
Public events are visible to all users on the event overview screen. To join a public event you simply need to log on to the right tenant and click the REGISTER link.
Join a private event
Private events are not always visible to everyone. To join a private event you need two things:
- Make sure you are logged in to the correct tenant.
- The access token for the event.
This information should be provided by the manager of the event or your trainer.
If you are logged in to the correct tenant have already got an access key, use the ENTER ACCESS CODE button at the top of the event overview screen.
Enter the access token for the event and click REDEEM.
A new event should appear in your event overview with a GO TO link.
If everything worked out, you can now participate in the event.
Join an event as a team
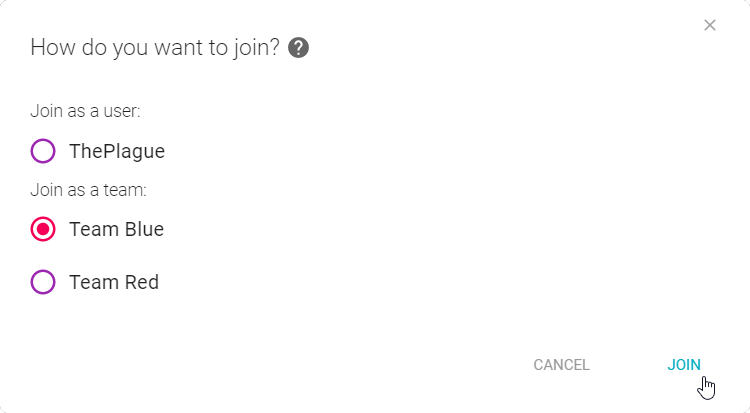
Whether you want join a public or private event, you can participate as an individual user or with your team. In the second case, you need to make sure that you are teamleader of a team before joining the event. When joining an event as a teamleader you will be asked if you want to participate and with which team.
Note
By joining as a team, all team members are automatically registered to the event.
